Sure, you’ve mastered the art of contouring, but the last thing you want is for all your hard work to smudge and melt away as you go through the day. And while setting sprays definitely help in this regard, you’re probably going to want to take it up a notch with a little beauty technique called “baking.” Don’t worry, you won’t need an oven to do this — just a concealer and your favorite setting powder (and a little patience).
Baking makeup has been popular in the drag community for years and has gained traction with many makeup artists and beauty vloggers as well. Put simply, it’s a trick for setting your makeup by putting on excess powder and letting your body heat set the foundation. You can then dust off the powder, leaving behind a flawless finish that will. not. budge throughout the day.
[ Next: Waterproof (and Sweatproof) Makeup That Lasts ALL Day — Even in the Pool ]
This article originally appeared on TotalBeauty.com
Ready, Set, Bake! Your Guide to 'Baking' Your Makeup
-
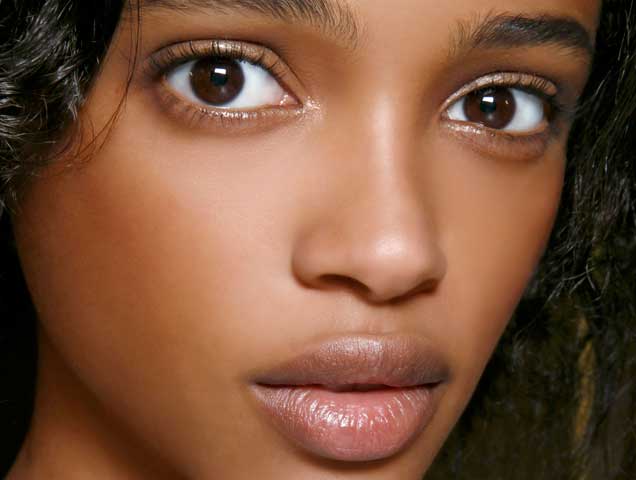
How to bake your undereye concealer

There are many ways to use the baking method, though it's an especially popular trick for setting undereye concealer — it'll help your coverage stay in place all day and also helps prevent creasing.
Before applying your concealer, make sure to hydrate the area using an eye cream. This will help prep your skin (while also helping to blur any fine lines). Next, apply your concealer as usual and let it set for a few minutes before blending it out. You can also add another layer for a full coverage.
Now for the baking: Using a wedge sponge, dip it into your favorite setting powder and apply it generously to your undereye area. Let the powder sit for a good five minutes, then dust it off with a blending brush. And that's it — consider yourself baked!
Image: Imaxtree
-
Baking the rest of the face
Baking can also be used for the rest of your face: Just apply your powder on the hollow of your cheekbones, bridge of your nose and chin. As with your undereye concealer, leave it for five minutes before dusting it off. One important tip: Don't skimp on the powder — yes, your face will look a little ridiculous, but that's just how baking works. And hey, you'll be dusting off the excess and blending it out in no time.
Image: Imaxtree
-
When to bake
Experts recommend baking for photo shoots or other events where you'd be under harsh lights. (Also, selfies: a well-baked face looks amazing on Instagram). That said, it might be a little extra for your daily makeup routine, especially as it can look a wee bit cakey in person.
Image: Imaxtree


